
Prestashop webshop
1 min read · Updated 21 Sep 2026 · Source
Prestashop webshop
After registering, you can follow these steps to connect your Prestashop shop to Droppery
Remember to indicate the version of Prestashop that you are using so that we can ensure the configuration.
- Prestashop version 8; In your PrestaShop administration environment, go to the store Advanced settings > Web Service
- Click on "Add a new web service key"
- Click on "generate" set the following permissions:
- Addresses (View, Edit, Add)
- Countries (View, Edit, Add)
- Customers (View, Edit, Add)
- Images (View, Edit, Add, Delete)
- Manufacturers: (View, Edit, Add)
- Orders: (View, Modify, Add, Patch)
- Order_states: (View, Edit, Add)
- Products: (View, Edit, Add, Patch)
- Stock_availables:(View, Edit, Add)
- Click on "save"
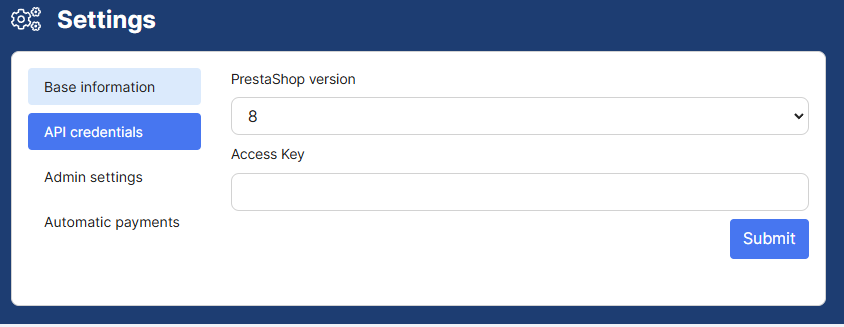
Copy the key value to Droppery > Access Key
Set the API path value to https://yourdomain.com/api
Prestashop version 1.7 ; In your PrestaShop administration environment, go to the store Advanced settings > Web Service
Click on "Add a new web service key"
Click on "generate"
set the following permissions:
- Address (View, Edit, Add)
- Countries (View, Edit, Add)
- Customers (View, Edit, Add)
- Images (View, Edit, Add, Delete)
- Manufacturers: (View, Edit, Add)
- Orders: (View, Edit, Add)
- Order_states: (View, Edit, Add)
- Products: (View, Edit, Add)
- Stock Availables: (View, Edit, Add)
- Click on "save"
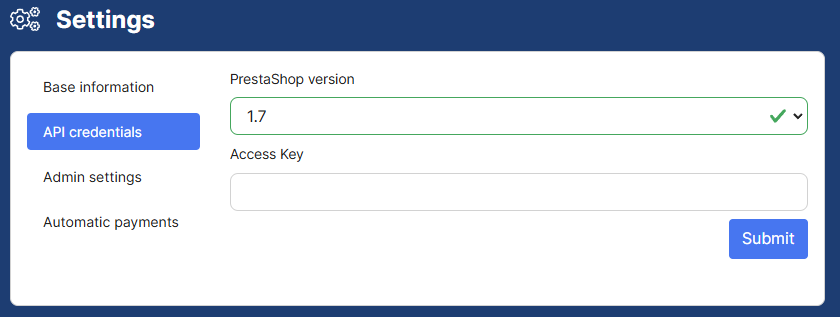
- Copy the key value to Droppery > Access Key
- Set the API path value to https://yourdomain.com/api
Remember to authorize access to inventory in your Prestashop store settings so that the connection can take place and the products are synchronized.
You can now use Droppery and all the features involved.
Was this article helpful?
Found a bug or issue while following this article?